
While spring cleaning in your garden this year don’t throw out all those dried branches! Use them to create beautiful, natural, chemical-free aromatic diffusers!
Enjoy your favourite essential oils while creating a lovely decorative piece for your home. On top of their fragrant aroma, essential oils have incredible health benefits – they can uplift your mood, help you concentrate while working or studying, purify the air, help to calm and soothe and so much more!
All you need:
Dried branches (you can also use bamboo skewers with the tips cut off or reeds)
20 drops of your favourite essential oil or essential oil blend (blends are called synergies)
30 drops Emulsifier
½ C Water
Glass bottle
Directions:
Mix together ½ C of water and 30 drops of emulsifier. The emulsifier will help the essential oils dissolve in the water.
Next add 20 drops of your favourite essential oil or a synergy (blend of essential oils). Give it a good mix and then pour the liquid into your glass bottle.
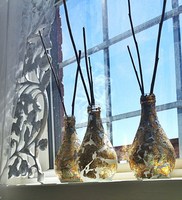
Add dried branches, bamboo skewers (with the tips cut off), or reeds. They should be a few inches taller than you bottle. Allow a few hours for the liquid to be drawn up by the branches and then turn them over to help speed up the process and voila!
Turn the branches over every few days and refill the bottle with liquid as needed. Make up a large bottle of the mixture to make refilling easy!
Decorating your Bottles
The RDA staff had some fun coming up with easy DIY decorating ideas!
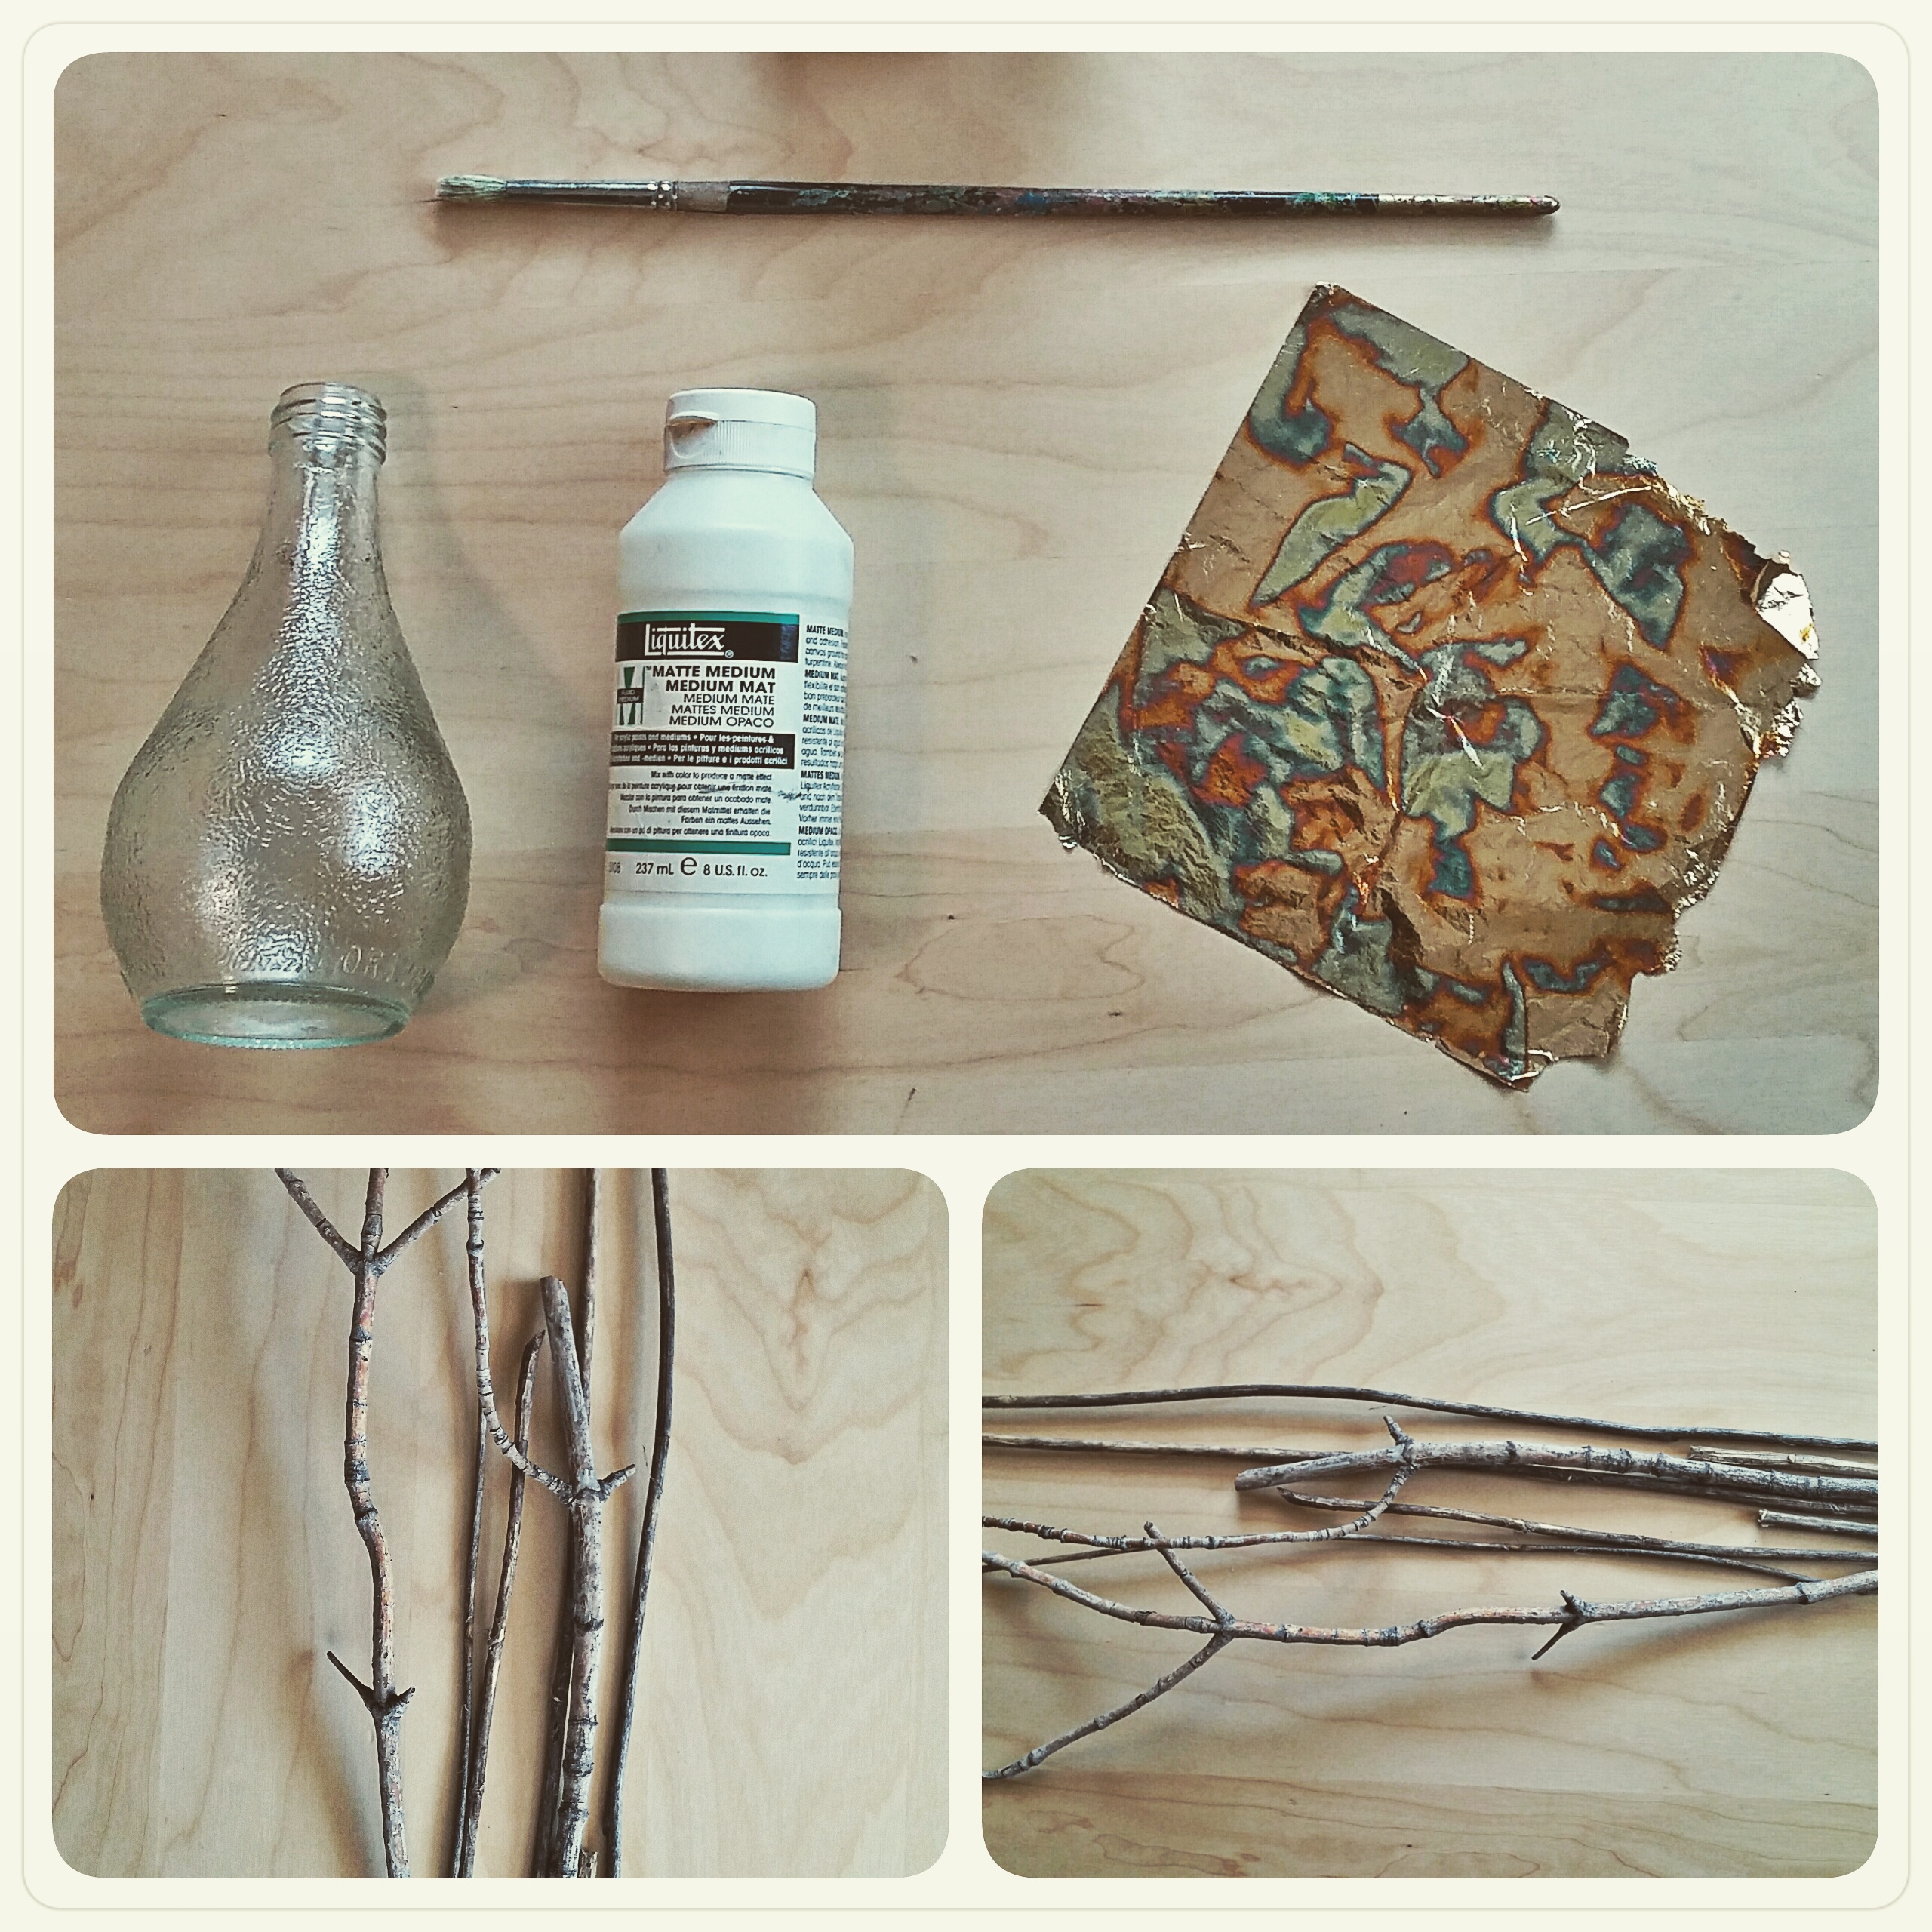
Here we used gold foil sheets (easily found at any art store), a paintbrush, up-cycled Orangina bottles, Liquitex Matte Medium (you can also use Mod Podge or white school glue) and dried branches from the garden.
Directions:
Decoupage is the art of decorating using glue and paper; here we employed the same technique using gold foil sheets instead! The only rule you have to remember is glue on the bottom and glue on the top!
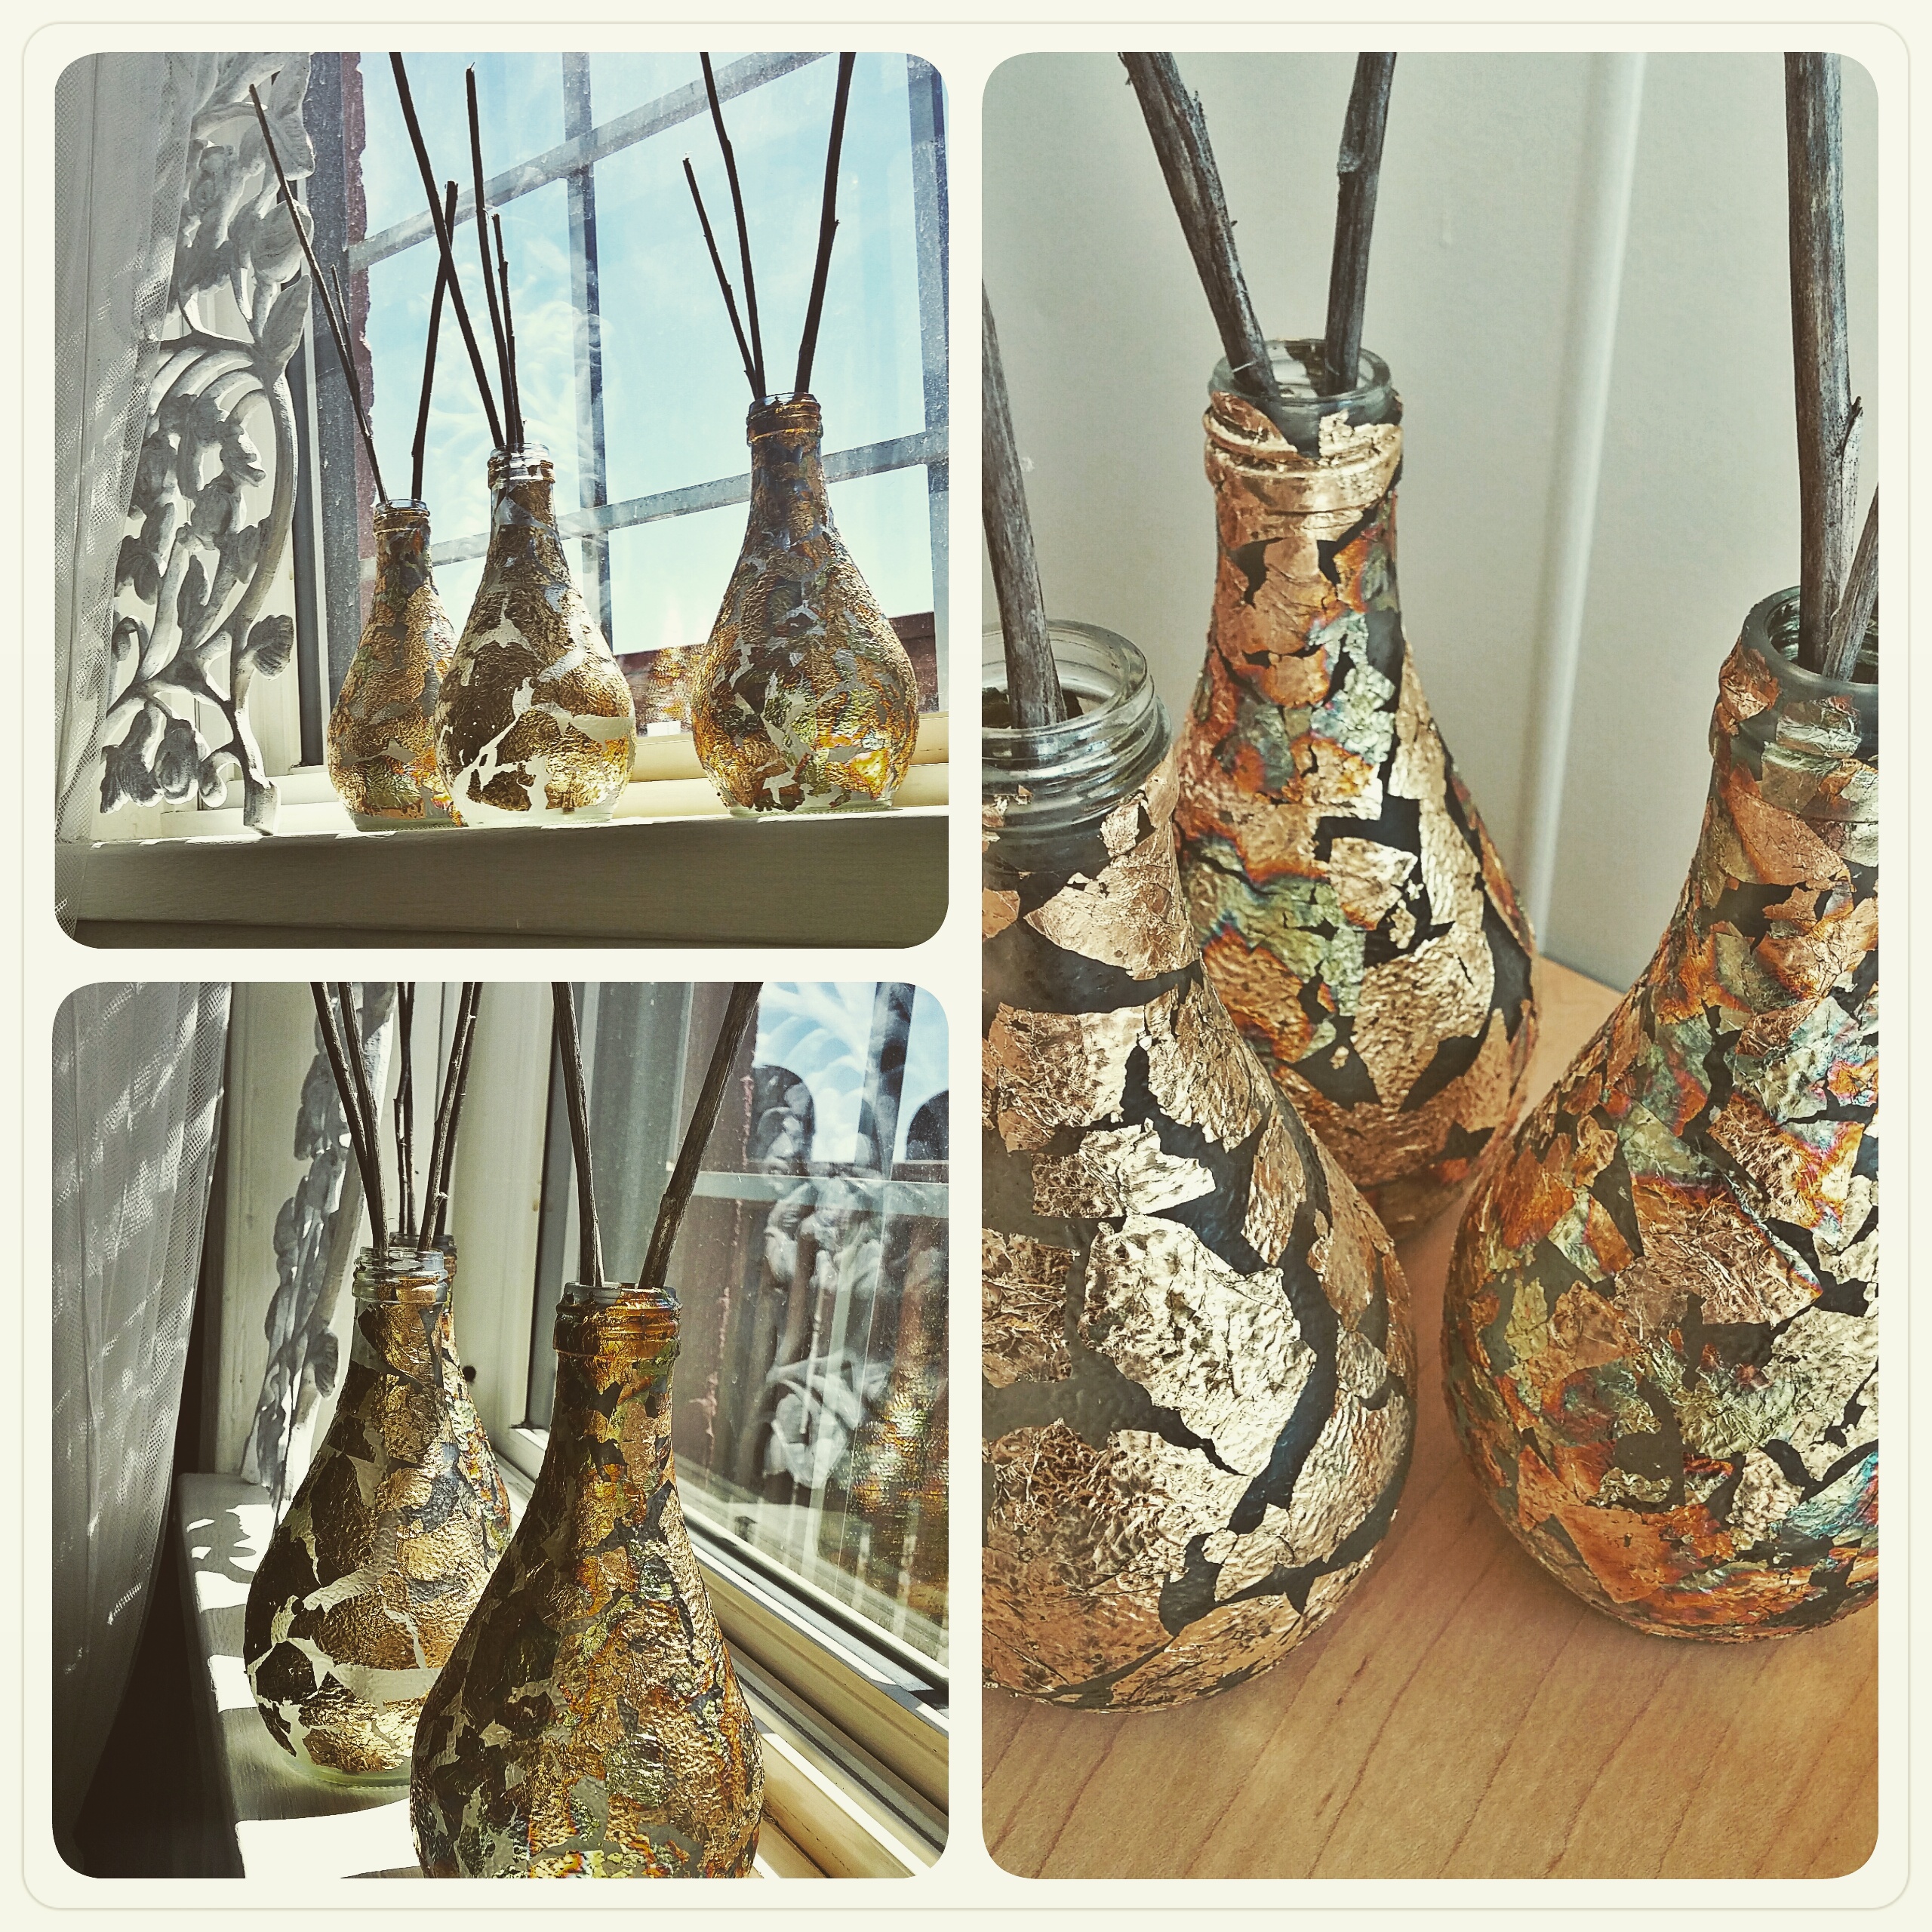
Slightly water down your glue so that it easily flows without streaking. Using your paintbrush, place glue on a portion of the bottle. Tear off a piece of the gold foil and place it on top, dip your paintbrush in the glue and gently tap glue on top of the foil, securing the piece down to the bottle. While the glue is wet you can move around the pieces of gold foil to your liking.
Give your bottle a few hours to dry (depending on your glue) and it is all ready to be made into a diffuser!
Decorating Tips
You can also use the decoupage technique above with coloured tissue paper, rice paper or any other decorative paper that isn’t too thick. Pro Tip: The thicker you paper is, tear it up into smaller workable pieces and don’t water your glue down as much.
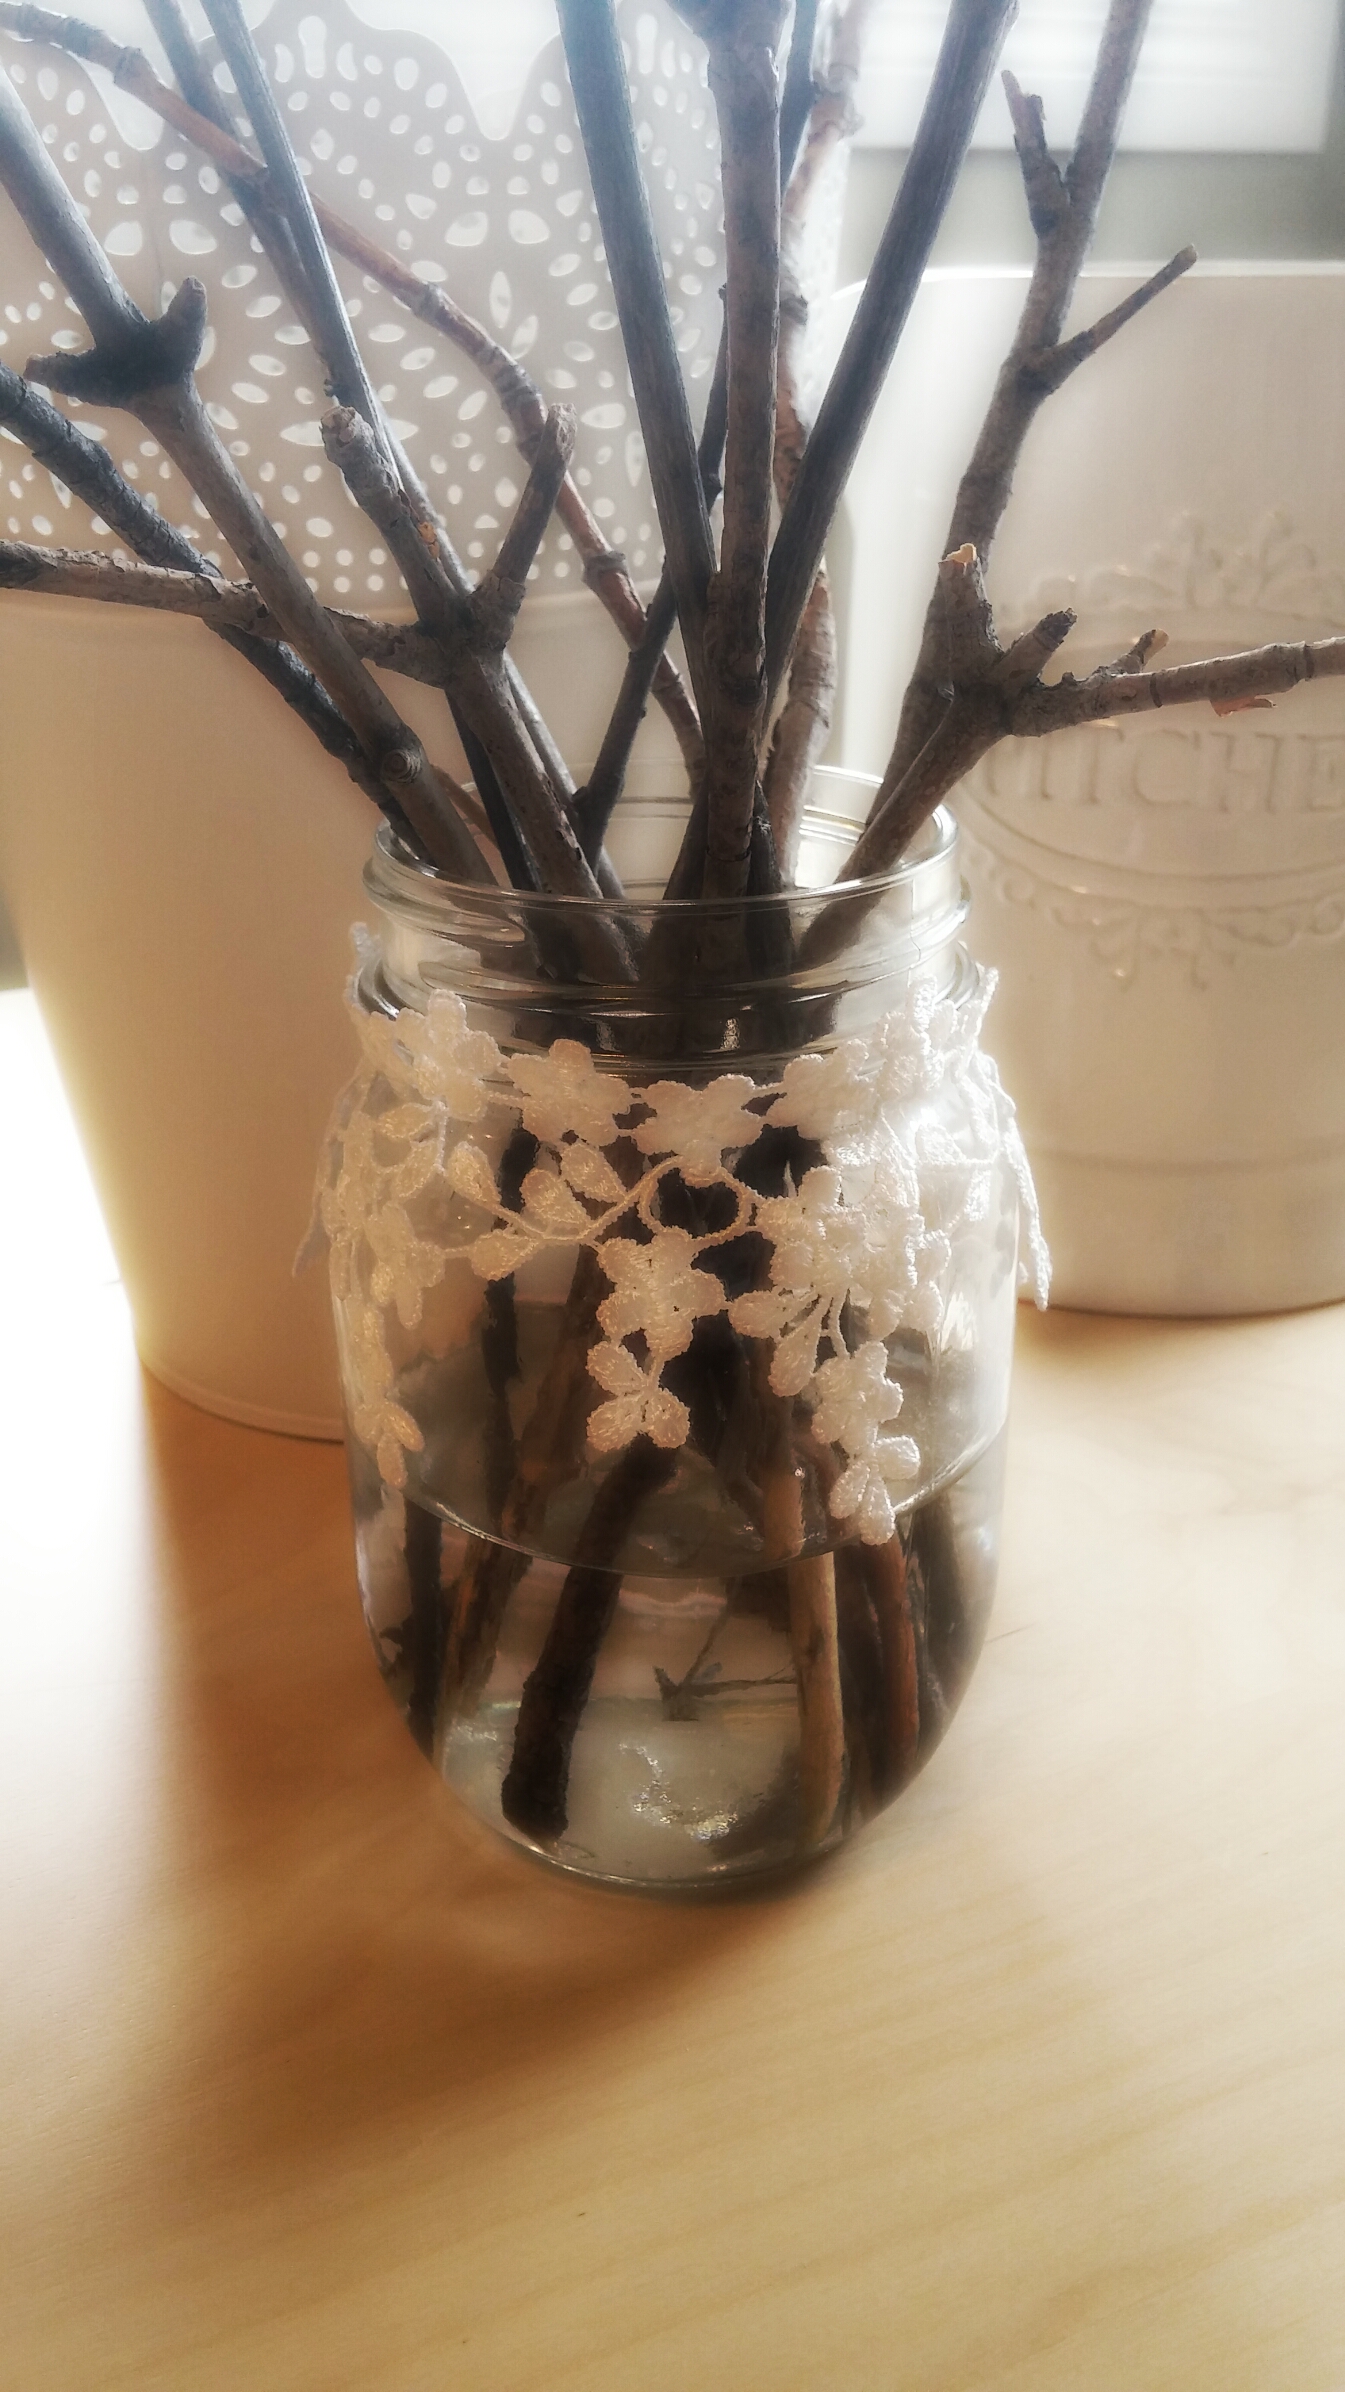
Lace, Ribbon & Fabric scraps? Simply use a glue gun and/or tie on some fabric scraps and ribbon to a mason jar! Here we've used some leftover lace from a wedding dress.
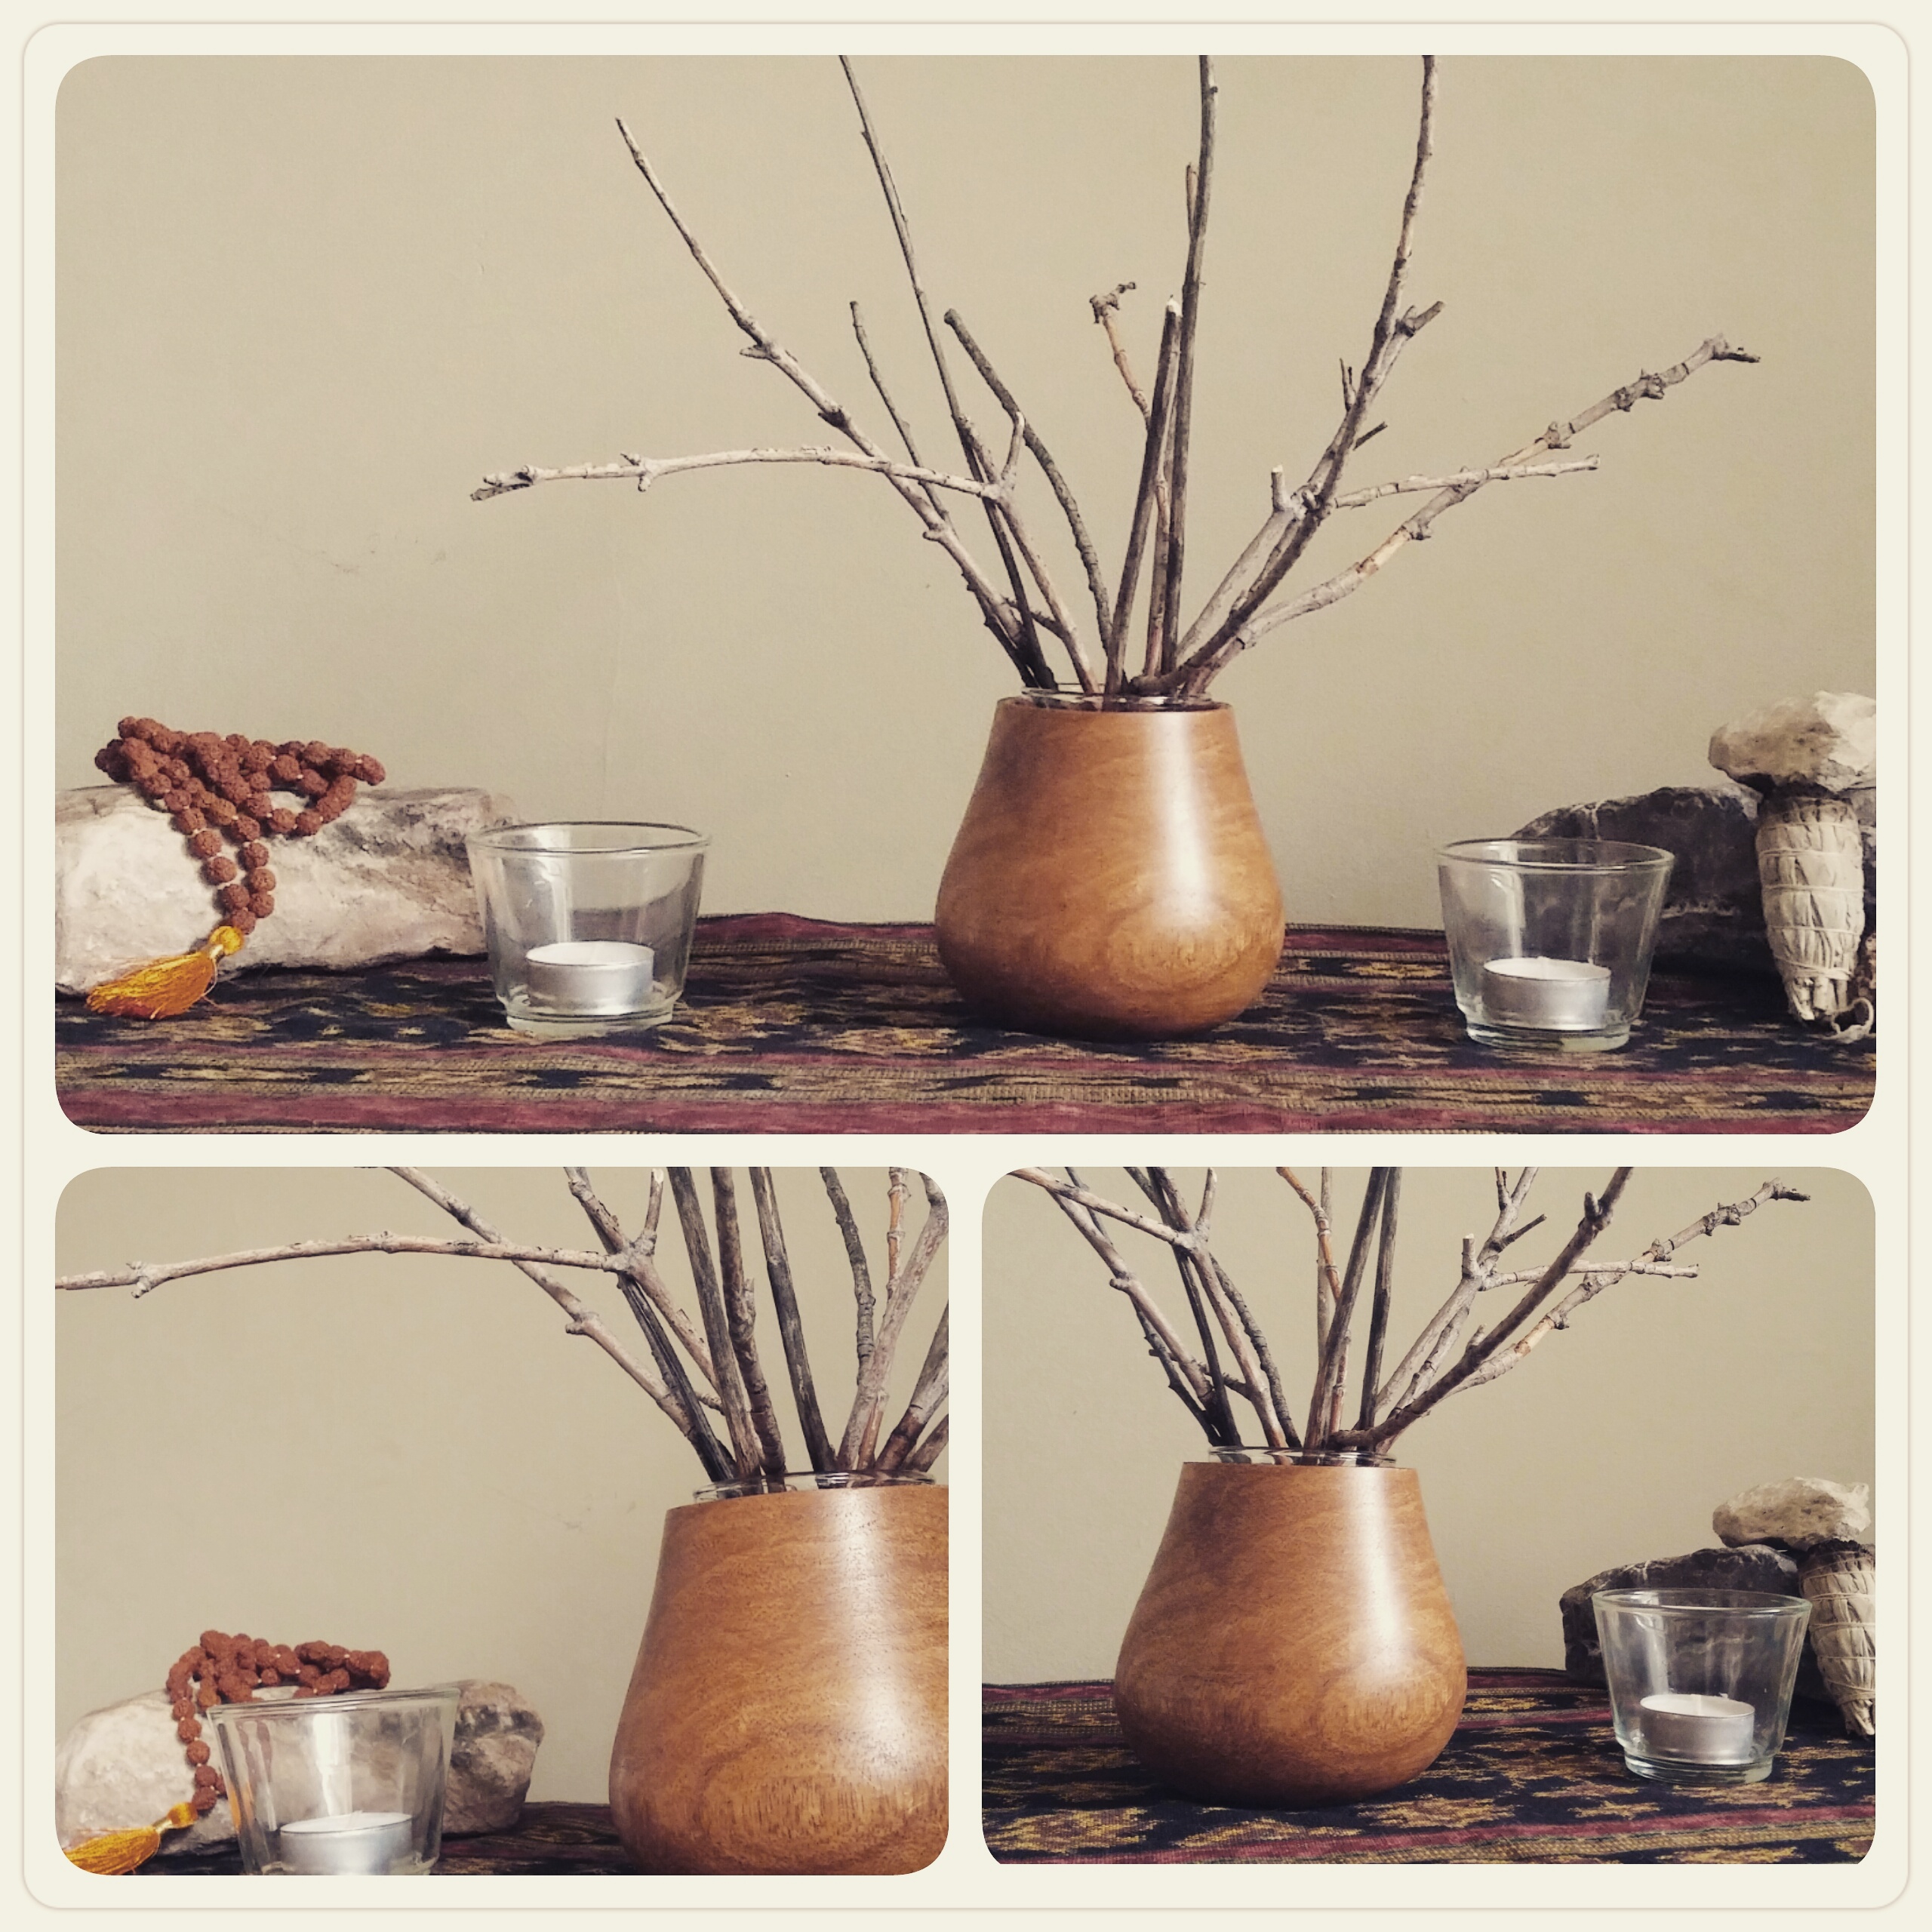
We had a lovely wooden bowl and found a small mason jar fit perfectly inside. With branches from the garden it makes the perfect natural, aromatic centerpiece for our side table!